When my search for cute Halloween decor started this year, I fell in love with the Halloween garlands I saw in this picture from Wants and Wishes Design
The tissue paper pom pom garland especially struck my fancy but I wanted to use some of my craft paper instead of tissue paper to add a little wow factor.
While working with tissue paper is a lot easier, I was successful in creating a beautiful DIY Halloween Tassel/Pom Pom Garland and I'm gonna show you how.
Ain't it purdy?
What You'll Need
- Craft Paper (I used orange and about three different black and white patterns)
- Hot glue, regular glue, or tape
- Scissors
- Craft string, twine, or yarn
- Wooden skewer
- Ruler (although I got away with just eyeing mine)
1. First, you're going to need to figure out how long you want your tassels or pom poms to be. Double the length of your desired tassel, and add about a half inch-inch to that. I wanted my tassels to be cute and small, so I decided on 3 inches and doubled that to about 6 inches.
2. Cut your craft paper the appropriate length using the calculations you did in step one. The width doesn't really matter, in my opinion, the longer, the better because it ends up being less cutting (sorta, you're gonna be doing a looootta cutting).
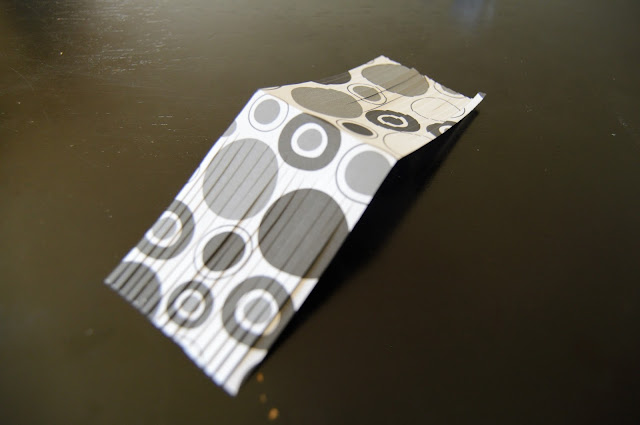
3. Fold the strip of paper you just cut in half and begin cutting tiny vertical strips in it, leaving about a half-inch of paper below the fold.

4. Now, you can cut your strips the desired width you'd like. I had to mess around with this quite a bit until I found my desired width. In the beginning I made them far too wide and since we're working with craft paper instead of tissue paper, the thickness can make it difficult to work with so for my garland, I ended up really liking 2-2 1/2 inches wide.
5. Now, unfold your paper and grab your wooden skewer because you're going to use it to roll the paper up. Starting at one side of the paper, fold the edge slightly over the skewer and begin to roll.
6. When you're finished rolling, pull the skewer out and pinch the middle of the paper tube you just made and then fold the entire thing in half.
7. Now, you can either continue to do this and make a giant stack of tassels before attaching them to the string, or you can attach one by one, which is what I did just because I like to make things difficult and I didn't know how many of these babies would get me to my desired garland length. I ended up being able to cover 46 inches of wall space with my garland with just the right amount of slack and have a total of 28 tassels on my garland with an inch in-between each one.
To attach the tassels to the string, you have a choice. I've seen a few different tutorials on how to make these types of garlands and have seen people use hot glue and tape. If I could do this all over again, I would make a pile of pom poms and attach them all at once with hot glue but for the one in this tutorial, I just used clear Elmer's glue. Due to the thickness of the craft paper, this was a bit of a pain in the butt so save yourself the trouble and use tape or hot glue. Simply put a dab of glue where the fold is in each tassel, fold the tassel over the string and pinch until the glue dries.
8. Continue to attach tassels to your string until you get your desired length.
And that's it guys! Yay, you have an adorable Halloween garland!
I hope you liked this tutorial, please like, share, and comment below!


No comments:
Post a Comment
Thanks for commenting. You rock!